
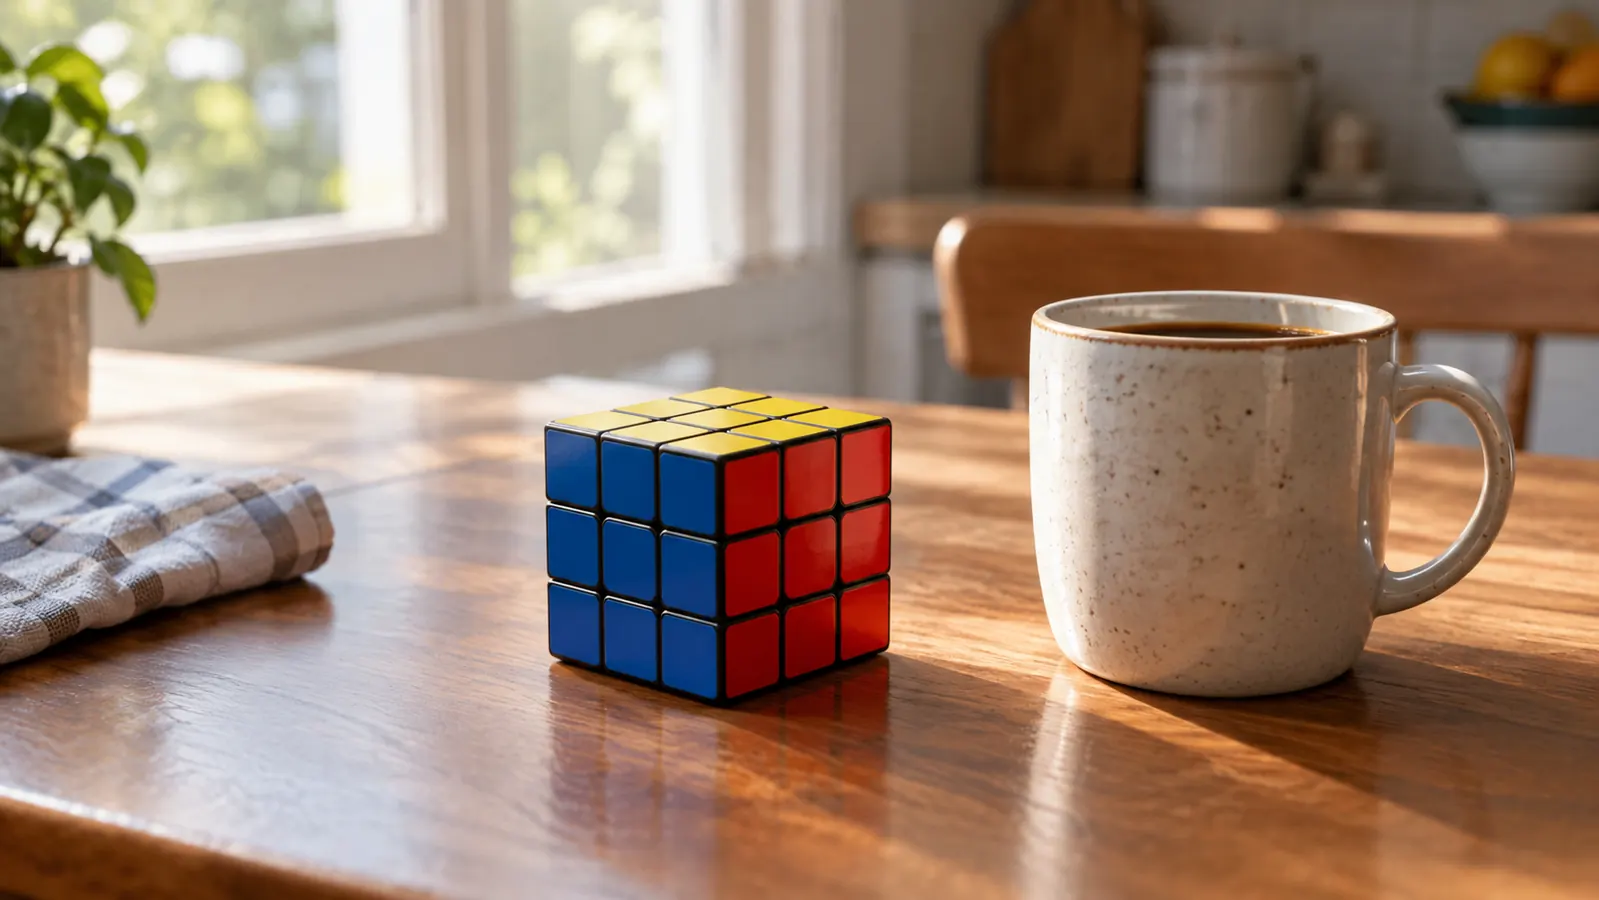
Every few months, one of my grandkids brings over a Rubik's Cube, hands it to me, and says, "Grandma, you're the math teacher. You solve it." And every few months, I have to explain that being a math teacher does not mean I can solve a Rubik's Cube on command. What it does mean is that I know a good method when I see one, and I know how to break a scary problem into steps a sixth grader can actually follow.
So when I picked up the Rubik's Magnetic Cube for my grandson Theo's birthday, I decided to relearn the beginner method properly, step by step the way I would teach it, instead of just scrambling it and handing it back. I am glad I did. The magnetic version turns so smoothly that the usual beginner frustration, the cube fighting you while you are trying to learn, mostly disappears. Here is the exact walkthrough I used, written the way I would explain it at my kitchen table.
Start With a Cube That Turns the Way You Need It To
The Rubik's Magnetic Cube is the one I keep on the dining room table, and the one I buy for grandkids who are ready to learn. It turns smoothly, snaps into place, and does not fight a beginner's shaky first moves.
Amazon Check Today's Price on Amazon →Step 1: Learn the Language Before You Learn the Moves
Half the reason people think they cannot solve a cube is that the instructions sound like a foreign language. So before any algorithms, learn six words. The center pieces never move, and their colors tell you what each face should be when you finish. The edge pieces have two colors and live between centers. The corner pieces have three colors and live at the corners. A face is one side of the cube. A layer is a full slice of the cube, and that is what you actually turn.
The other half is learning the two turns you will use all the way through. A clockwise turn is a quarter turn to the right, and a counterclockwise turn is a quarter turn to the left. That is it. Every algorithm in this walkthrough is just a short string of those two turns, written as R for the right face, L for the left, U for the top, and D for the bottom. When you see R, turn the right face clockwise. When you see R', turn it counterclockwise. The apostrophe just means "the other way."
I tell my grandkids to say the letters out loud while they turn. "R, U, R', U'." Saying it keeps you from skipping a turn, and it builds the muscle memory faster than silently staring at the cube. On the Rubik's Magnetic Cube, each turn clicks softly into place, so you get instant feedback that you completed the move. That feedback matters more than you would think when you are first learning. I timed myself the first afternoon I practiced the trigger, and I was averaging about one turn per second. By the third day, that same sequence took me under two seconds, and I had stopped looking at the letters at all.
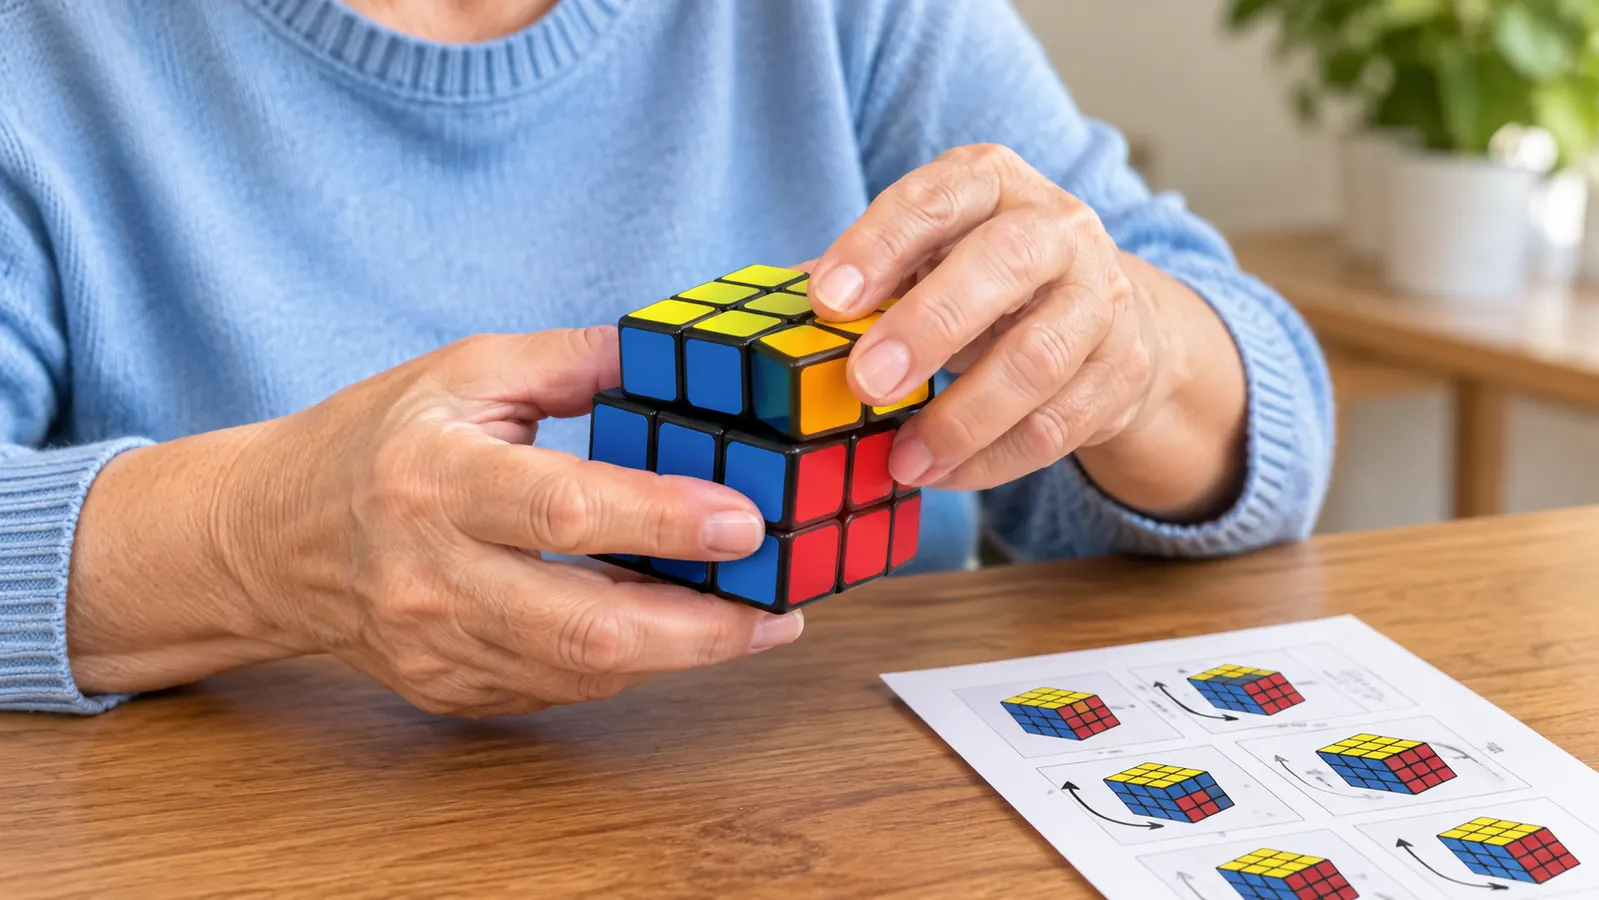
Step 2: Make the White Cross on Top
Hold the cube with the white center on top. Your first job is to get four white edge pieces up around that center, forming a cross. Do not worry about the corners yet. Just find a white edge piece, bring it to the top, and line it up so the white is facing up. The side color of that edge does not need to match anything yet. You are just building the cross.
The trick that saves beginners the most frustration is to check the side colors before you lock the cross in. Each white edge has a second color, and that second color needs to match the center of the face it sits above. If the white edge is above the red center, the edge's other color should be red. Twist the top layer until each edge lines up with its matching center, then turn that face twice to drop the edge into place. When you finish, the white cross should be surrounded by matching colors on all four sides.
This step is the one most people rush, and it is the one that causes the most do-overs later. Take the extra minute to line up the side colors now. On a magnetic cube, the pieces settle into place with a satisfying snap, which makes it easier to see when a piece is truly home and when it is just sitting there pretending. I watched Theo try this step on an old loose cube we had in the game closet, and he kept losing the cross because the top layer would drift a quarter turn when he reached for the next piece. The first time he tried the same step on the Rubik's Magnetic Cube, he finished the cross in one clean pass and said, "Oh, that's not fair, Grandma." I took that as a compliment.
Step 3: Solve the White Corners
With the white cross done, you are going to fill in the four corners so the entire top face is white. Find a white corner piece in the bottom layer. Position it directly below where it needs to go, then use the same four-move sequence over and over: R, U, R', U'. That little loop is called the right trigger, and it is the workhorse of the whole beginner method.
Here is how I explain it to Theo: the corner goes up, over, down, and back. Each time you run the trigger, the corner moves one step closer to its home. If it is not in the right spot after one pass, run it again. If a white corner is stuck in the top layer but in the wrong position, pop it out by running the trigger once, then bring it back up the right way. The first corner took me eleven tries across two evenings, and I nearly gave up. The second corner took three. By the fourth corner, I could run the trigger without counting, and that was the moment I understood why every tutorial says this method is about repetition, not talent.
When the top face is solid white and the first layer's side colors all match their centers, you have solved the first layer. Stop and admire it. This is the moment most people quit, and it is also the moment the Rubik's Magnetic Cube earns its keep. Because the magnets keep every turn precise, you can see exactly what each move did, which makes the trigger sequence much easier to learn than on a loose, rattly cube.
Step 4: Solve the Middle Layer Edges
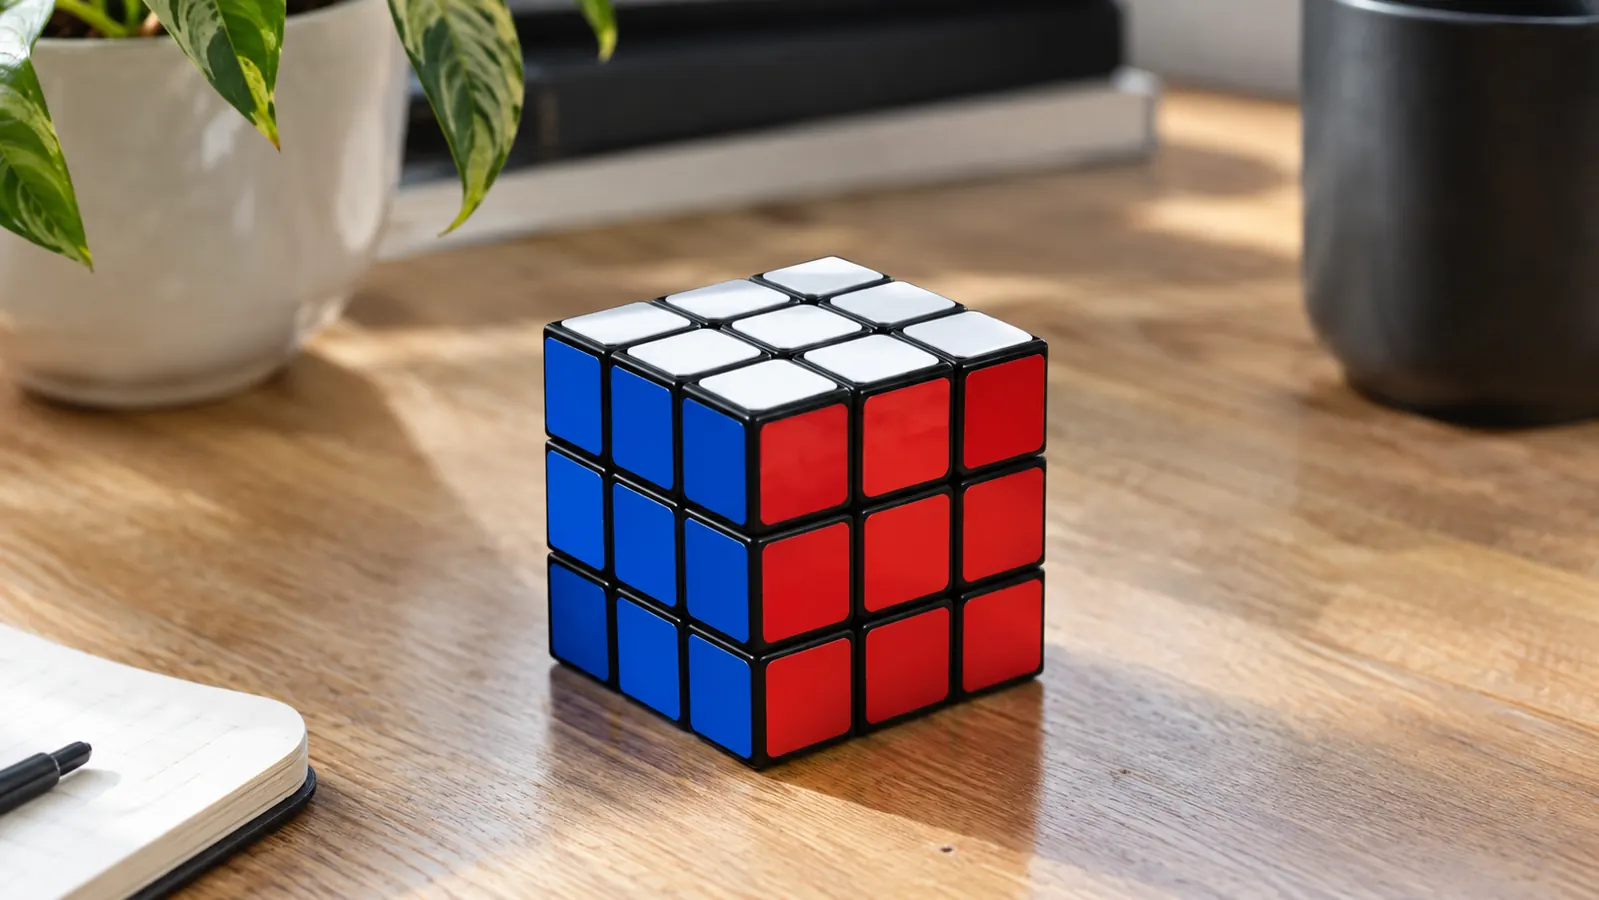
Flip the cube over so the white face is on the bottom. Now you are solving the middle layer, the band of edge pieces between the white face and the yellow face. Look at the top layer and find an edge piece that does not have yellow on it. That piece belongs in the middle layer. Match its top color to the matching center, then use one of two short sequences depending on which direction the piece needs to go.
If the edge needs to go to the left, run U', L', U, L, U, F, U', F'. If it needs to go to the right, run U, R, U', R', U', F', U, F. I know those look like a lot of letters, but they are just the left trigger and the right trigger with a little setup in front. Practice each one slowly three times, and your fingers will start to remember them before your brain does. I wrote both sequences on an index card and kept it propped against the salt shaker, and by the end of the week the card was only there for show.
This is the step where a smooth-turning cube stops being a luxury and starts being a necessity. The middle layer moves require quick, clean turns, and a stiff cube will make you misalign a face, which throws off the whole sequence. The Rubik's Magnetic Cube turns so smoothly that I can run these sequences one-handed while holding my coffee, which is my personal standard for a good puzzle. I tested that claim on a Tuesday morning in early March, and I only spilled once, and that was because Gus asked me a question mid-sequence, not because the cube slipped.
Step 5: Finish With the Yellow Face and the Last Layer
Now the top face is yellow, but it is probably a mess. That is normal. First, make a yellow cross on top using F, R, U, R', U', F'. You may need to run it once, twice, or three times depending on what shape the yellow pieces are in. Then position the yellow corners with U, R, U', L', U, R', U', L, and finally orient them with R, U, R', U' repeated until each corner twists into place.
The last layer is the part that makes people throw cubes across the room, so let me give you the advice I give every grandkid: slow down and do one sequence at a time. Do not try to fix the whole yellow face at once. Run the sequence, look at what changed, and run it again. The cube will look worse before it looks better, and that is part of the process, not a sign that you broke it. I kept a little notebook next to the cube for three days and wrote down which shape the yellow pieces made before each sequence. That notebook is what finally made the last layer click for me, because I could see that the same shape always needed the same sequence.
When the last corner clicks into place, you will have a solved cube. The first time I did it, I sat back and laughed, because I had not solved one without a cheat sheet in decades. The Rubik's Magnetic Cube did not solve the puzzle for me, but it removed every excuse my stiff old wrists had been using. It turns that easily. I solved it again the next morning in just under nine minutes, and by the end of that week I was down to six and a half. I am never going to be a speedcuber, but I do not need to be. I just needed to prove to myself that I could.
What Else Helps
A good cube is the biggest help, but a few other things made the difference for me. First, find a quiet ten minutes and no interruptions. The beginner method is about pattern recognition, and pattern recognition needs your attention. Second, keep a printed guide next to you instead of scrolling on your phone. I printed the algorithm list and taped it to the dining room table, and it saved me from losing my place a dozen times. Third, practice one step per day instead of trying to learn the whole method in one sitting. Day one, just the white cross. Day two, the corners. By day five, you will be running the last layer sequences without looking at the guide.
And fourth, if you get stuck, put the cube down and come back in an hour. A scrambled cube will still be scrambled when you return, but your brain will have sorted out the pattern while you were making tea. I got stuck on the yellow corners for two full evenings, went to bed frustrated, and solved them the next morning on my first try before my coffee was done. That is not magic. That is just what a rested brain does with a pattern it has already seen.
The Rubik's Magnetic Cube did not solve the puzzle for me, but it removed every excuse my stiff old wrists had been using. It turns that easily.
The Cube I Keep on My Dining Room Table
If you are ready to learn, start with a cube that will not fight you. The Rubik's Magnetic Cube is the one I recommend to every grandkid and every adult who says they could never solve one. You can, and this cube makes it feel fair.
Amazon Check Today's Price on Amazon →